


Charlotte's Tips - Making A Hexified Quilt Using Fabric Panels
There have been many books & patterns published based on stitching 6 identical triangles together,creating kaleidoscope units that appear to all nest together.
There is a great deal of information to be found on the internet. We recommend & sell Gypsy Dreamer Quilts pattern - Hexified Panel Quilts, in our store and on our website. Elizabeth, the author, also sells a small 5.5” 60-degree triangle ruler, which you can also find on our website.

If you have never done this technique, the pattern is highly recommended. A search on YouTube.com, “hexified quilt tutorials”, brings up quite a few.
You can start with my video: ONE BLOCK WONDER - WISDOM WEDNESDAY - EPISODE 28 which can be found simply by searching for that title on YouTube.
Or type this in your browser: https://bit.ly/3K0pSLI
Then move on to Elizabeth’s series of videos. For her entire playlist, which cover all the parts of this project, search on YouTube for: “Gypsy Dreamer Quilts Hexified”
---
If you have done this process before, or think you “get it” and just need a few of the details, here goes.
You need:
· 7 panels - or “repeats”, these can be any size. Common panels are 24” or 36” wide by 42” long. Non-digital fabrics 12” - 24” repeats.
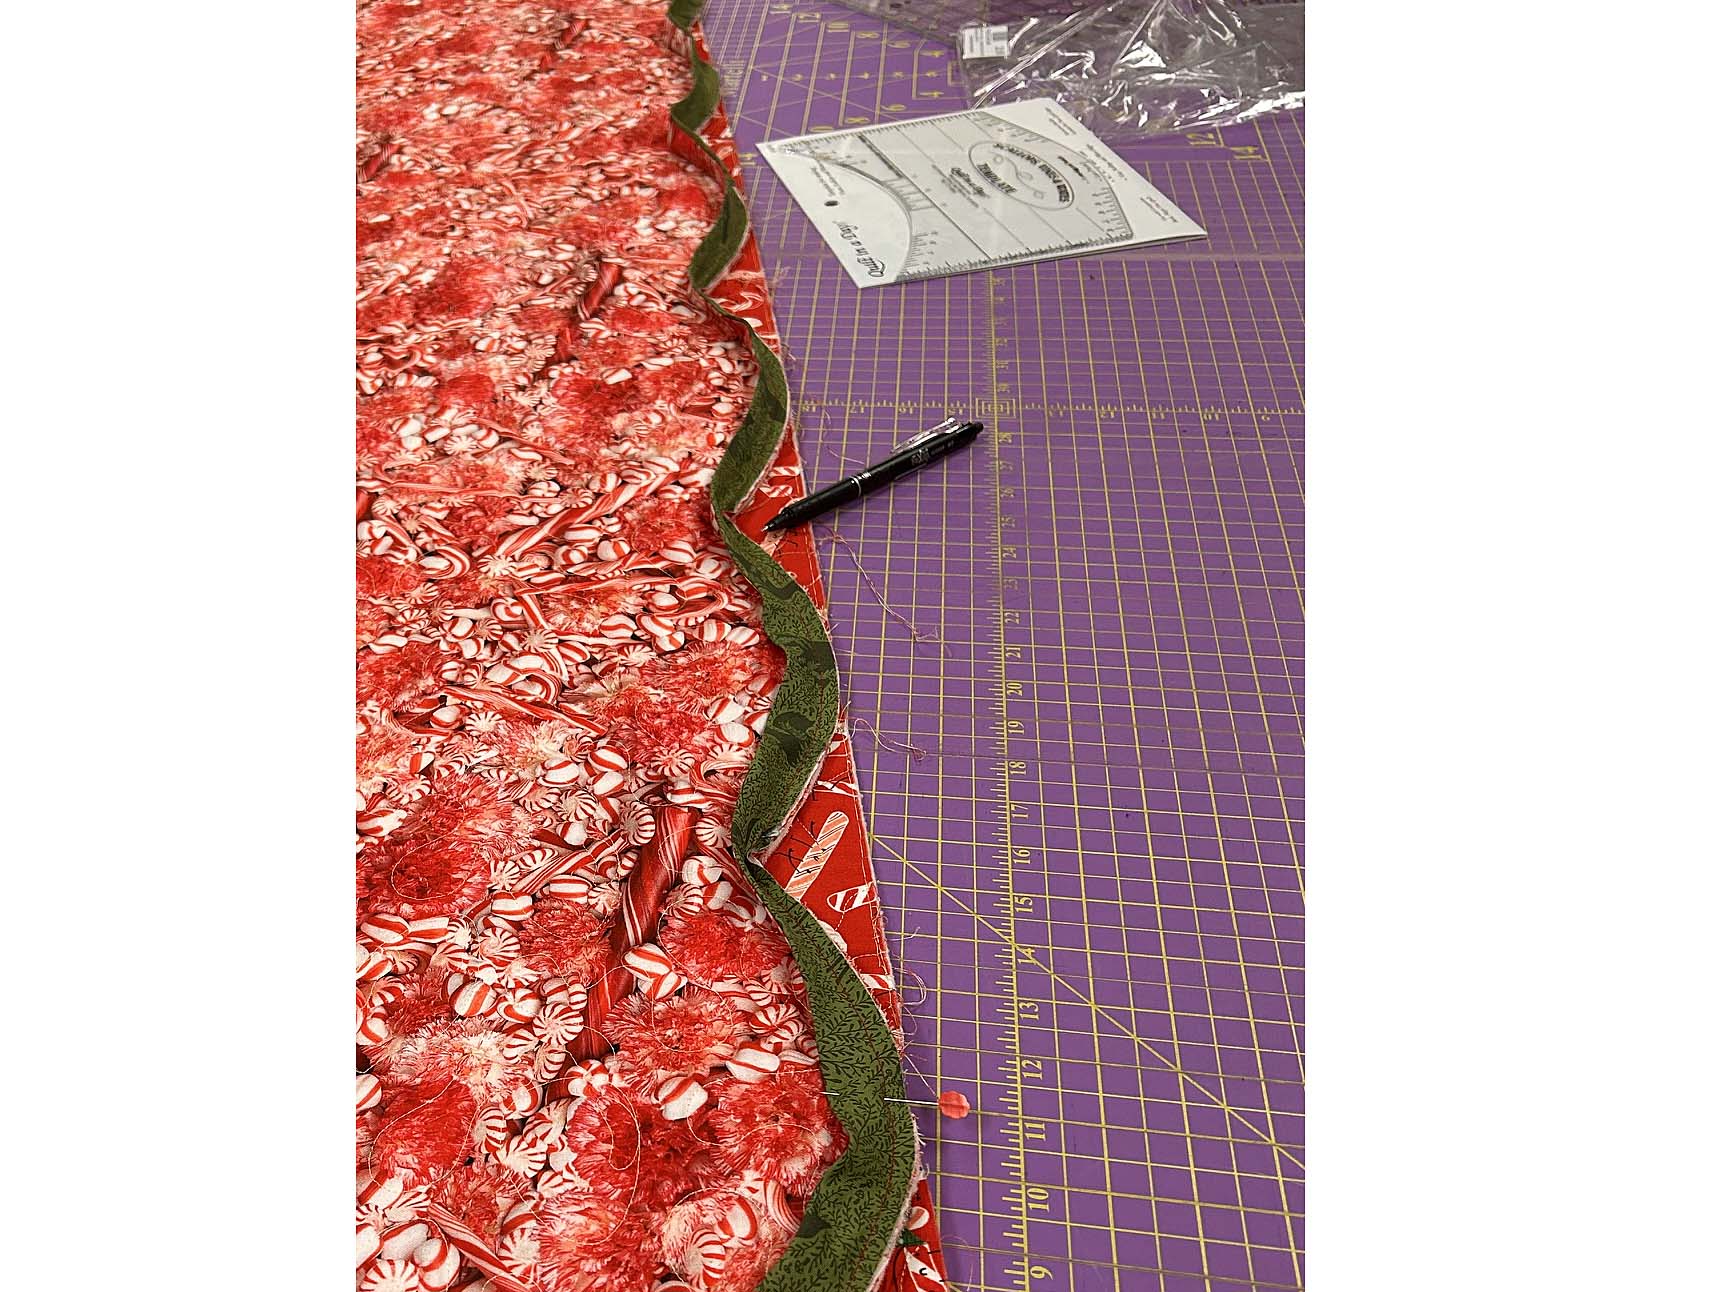
· 60-degree triangle ruler - all 3 sides are equal as Gypsy Dreamer’s GDQ-60R or may have one blunt end as Creative Grids’ CGRT60. Jaybird’s Sidekick and Super Sidekick are also 60-degree triangles and provide many size options.
· Sharp bladed rotary cutter - large or small, as long as it cuts easily through 6 layers of cotton fabric.
· Long, sharp straight pins - recommend fine, flat head, 2” long
· Basic sewing supplies - including good 1/4” seam allowance marking on sewing machine, sharp snippers, straight ruler, etc
---
1) Gather 7 identical panels. Set aside one panel for later.
2) Stack 6 panels, matching the image through all 6 layers. Use long straight pins, inserted at the exact place in the image through all six, then secure with more pins. Repeat to prevent shifting.
3) Cut away anything you don’t want in the finished quilt. May be useful as borders.
4) Make the first cut edge to edge, so that all layers are evenly trimmed.
5) Cut the first strip as wide as you have decided works for you. Most of our models are made using strips cut 5” wide. The “standard” mentioned on the Design Helper web tool is 4” wide. I used 6” wide strips for the quilt I show in my Wisdom Wednesday video (from 2020!)
6) Continue cutting as many strips of the same width as possible.
7) Using a 60-degree triangle ruler or template, cut as many triangles from each strip as fit. Keep the layers of six triangles together.
8) Lay out a group of six, rotating triangles until you are pleased by the pattern created. The same point of each will meet in the center. Sew together as 2 halves, 3 triangles each. Keep these pinned together, overlapping seams, as if sewn. Repeat until all are stitched together and pairs of 3 each pinned into hexagon shape (but not sewn!).
9) With the 7th panel as your guide, start laying out hexagon shapes (2 halves still pinned together). You can arrange the quilt by horizontal or vertical rows. If the unstitched seams of the half-hexagons are going across the quilt, it is horizontal.
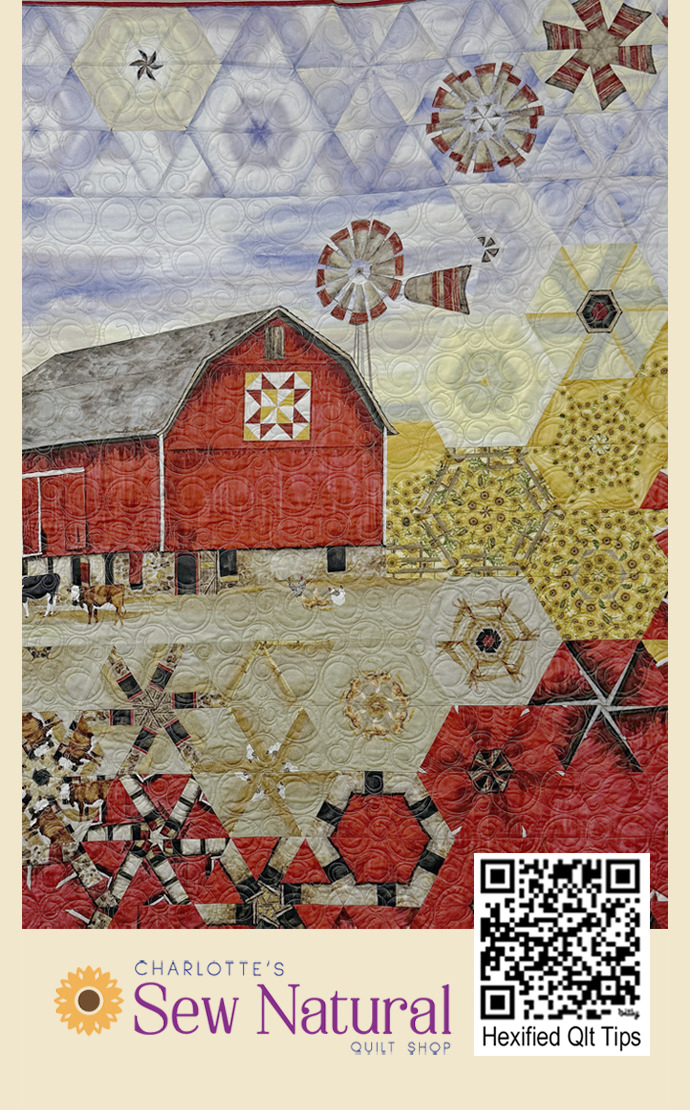
10) You can use the coloring of the whole panel which is going to be inserted, to arrange the hexagons, as the Barn illustrates here. Or you can get more random with the design as the Sunflower quilt illustrates.
11) Leave an open area which the 7th panel will fill. You can tell how much or little of the panel will be needed by laying out the hexagons, and comparing to the sides of your panel.
12) The half-hexagons are stitched end-to-end in rows, then two rows are stitched together, creating whole hexagons alternating with halfhexagons. Rows stitched together complete more hexagons.
13) Here’s where it gets tricky to “write” how I fill the “hole” with the 7th panel. The easiest way is to lay the panel on the table, right side up, and then lay the pieced top on top of it, so that the panel is showing through the hole. Fold under 1/4” on 2 sides that have a straight edge and either trim the other two sides straight, to accommodate the panel, or fold those under too so that the uneven edges blend with the design of the panel.
14) Using a straight or decorative stitch, sew the patchwork on top of the panel. Later, cut away any excess fabric from the back of the quilt.
---
Online Design Helper

These are two screenshots of the online Design Helper. With a photo editor, I added the rectangles indicating where the 7th panel might be placed.
The Barn Panel is much larger than the Sunflower Panel.
The Sunflower Panel is intended to make a drape for a mantle. The text is the instructions for that project. I like how it cut up in triangles and adds texture and interest to this quilt.
The Design Helper always illustrates with the middle seams illustrated horizontally on the project.
There are pairs of half-hexis & separate half-hexis which would not get stitched, leaving a “hole for the 7th panel.
You have the ability to rotate this project 90 degrees, so that those naturally straight edges would be the long length of the panel, if that is what you want, making them easy to attach by sewing a normal seam with a sewing machine.
---


HEARTLAND PANEL - From Riley Blake for the 2026 All Kansas Nebraska Shop Hop, made by sisters, Charlotte & Eleanor Wolfe.
SUNFLOWER MANTEL PANEL - From Riley Blake Designs, Mantel Runner of the Month, made by Charlotte Wolfe.